


How to Create Homemade Chocolate

Several weeks ago, Dilettante created a blog post explaining where chocolate comes from. The process is complex, from sourcing cocoa beans, creating unique chocolate flavors, and learning the intricacies of high-quality chocolate. Despite the complicated process, some have voiced a desire to learn the chocolate-making process themselves.
Dilettante comes from a long line of chocolatiers, each enthusiastic and motivated to create chocolate. Dilettante’s founder, Dana Davenport, first made chocolate at home with his family. Making chocolate this way gives a better appreciation of the craft and can be a creative way to treat friends and family.
Homemade and Regular Chocolate

Making homemade chocolate means the chocolatier has total control over what goes into the chocolate. For example, many store-bought chocolates include artificial flavors, oils, and hydrogenated fats for cheaper production. By making chocolate at home, there are no corners cut, resulting in a superior taste.
Making chocolate at home also gives more control over the resulting flavor. Chocolatiers can experiment to find a perfect combination of ingredients to achieve a specific or niche taste. Not only can making chocolate lead to great results, but it can also be a fun and rewarding experience.
Where to Begin

The chocolate-making process can change significantly on where a person decides to start. The most authentic way to create chocolate is to start making it with cacao tree pods. Unfortunately, these pods can cost $30-$40. Each pod yields several dozen cacao seeds, which can create roughly two ounces of chocolate, which means multiple pods will need to be purchased to make even a modest amount of chocolate.
An additional factor is time. After cracking open a cacao pod, the seeds need to be sorted out of the sticky white pulp to be fermented and dry in the sun. The fermentation process can last over a week, which may put off first-time candy makers.
Despite these drawbacks, the advantage of using cacao pods is a fresher chocolate flavor. By tending to the cocoa seeds from the second they leave the pod, the chocolate created is fresher and fruitier. Making chocolate in this way can also be more fulfilling and can add to the enjoyment of making chocolate.
For those who want the full experience of chocolate creation, Porch.com made a detailed article on making chocolate at home starting from cacao seeds. However, for the people who want an easier and more cost-effective way to create chocolate, the best place to start is with cocoa nibs.
After cracking open a cacao pod, the seeds need to be sorted out of the sticky white pulp to be fermented and dry in the sun. The fermentation process can last over a week, which may put off first-time candy makers.
What Are Cocoa Nibs?

Cocoa nibs are a particular part of a cocoa bean and can be found after cracking from their hard cocoa bean shells. Cocoa nibs are the main ingredient in making chocolate and can be purchased in bulk to create chocolate at home. This is a cheaper and easier alternative than buying cacao pods.
Even starting from cocoa nibs, there is plenty of work required to make chocolate. First, these nibs will need to be ground into a fine paste before using in chocolate. Grinding nibs can be difficult. Even as the nibs are being turned into a paste, there will be cacao solids left over. Ideally, these solids should be ground so fine, they won’t be noticeable when eating the chocolate.
There are several methods to grind the cocoa nibs. Some use a food processor, others use a coffee grinder, and some may want to grind the nibs by hand. No matter the method, the nibs should be ground into a smooth and fine texture.
How to Make Specific Kinds of Chocolate

Once the cocoa nibs are ground up, sugar should be added to the paste in half the amount. The next ingredient to add is vanilla, which can be scraped from a vanilla bean to provide a fresh and sweet taste. Once again, the vanilla must match the chocolate’s consistency to ensure a smooth flavor, so more grinding may be required.
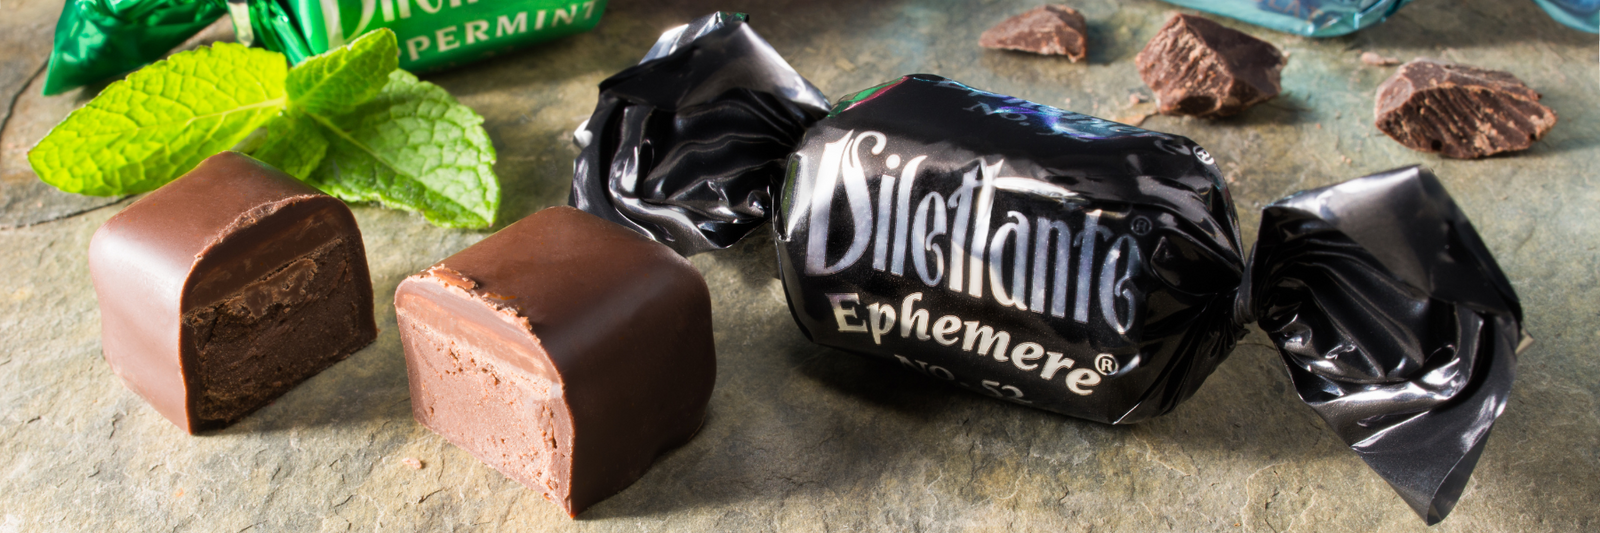
Finally, it is time to decide what kind of chocolate will be made. The final ingredient, cocoa butter, will largely influence the flavor of the chocolate. The chocolate will remain dark and rich by adding in a small amount of cocoa butter, while added large amounts will create a sweeter taste.
After all of these ingredients are mixed, it is time to get the chocolate ready to eat in a process called tempering.
Tempering Chocolate

To properly temper chocolate, it needs to be heated between 110-115 degrees. Tempering chocolate leaves little room for error. Heating the chocolate only ten degrees hotter can scorch the batch, while any lower will prevent it from reaching its ideal smooth state. For this reason, it may be a good idea to have a candy thermometer handy to make precise measurements.
There are several techniques to temper chocolate; however, Dilettante recommends using a double-boiler to keep the chocolate at the ideal temperature. Alternatively, chocolate can be tempered in a saucepan or microwave but should be intermittently stirred for the chocolate to be tempered evenly without scorching.
Ways to Enjoy Homemade Chocolate

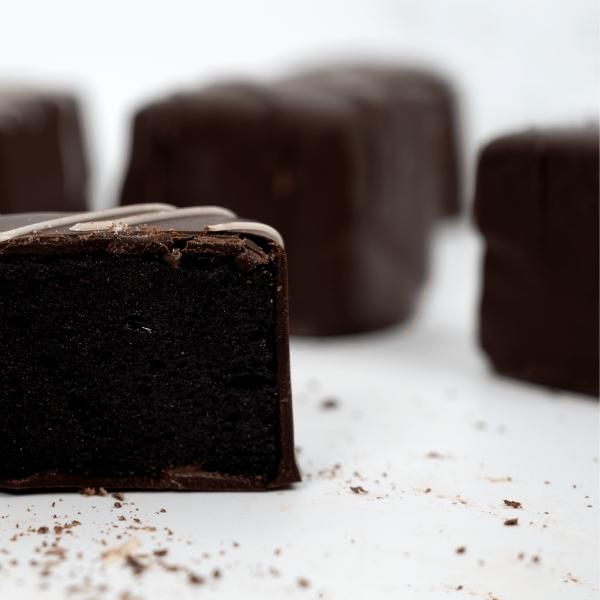
Now, the chocolate is finally ready to be enjoyed. Pour the final product into different chocolate molds and experiment by including different ingredients in the chocolate. Try different flavors by filling an ice tray with chocolate and experiment with different ingredients in each cube.
After cooling the chocolate in a refrigerator for 15 minutes, the chocolate will solidify. This chocolate can be wrapped for later use or to enjoy as soon as it is ready.
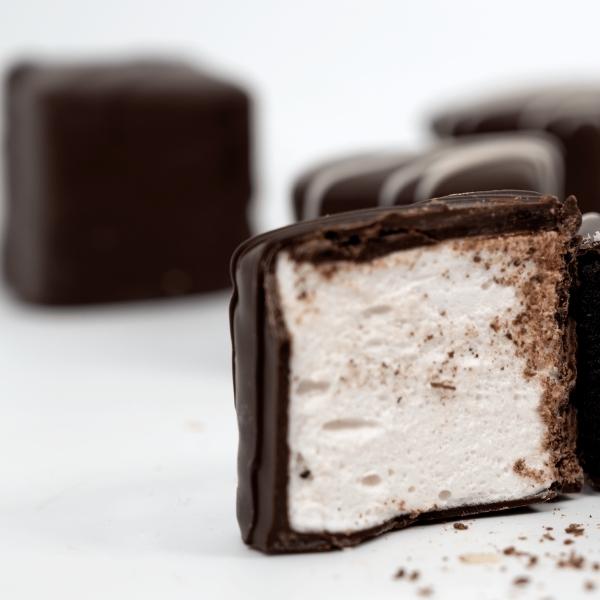
Alternatively, the chocolate can be left in its melted form and be used as dipping chocolate for fresh fruit, marshmallows, and more.
Continue Learning

Making chocolate can be a difficult process, and the chocolate may turn out different than expected. It is important to know this beforehand and enjoy the process of learning and experimenting. Given time, everyone can become a chocolatier.
For those interested in all things chocolate, Dilettante should serve as a useful resource. Not only does this blog cover a variety of topics revolving around chocolate, but Dilettante makes its confections using premium ingredients and decades of knowledge. Explore Dilettante’s chocolate selection and compare its taste with any homemade creation.

Ryan
Raised in the Pacific Northwest, Ryan has a fondness for the outdoors, music, and coffee. Some of his favorites are Dilettante's Chocolate-Covered Bing Cherries and L'Orange Truffles. Through his writing and content, he hopes to grow the Dilettante community.